If you want to optimize an existing article immediately, toggle this feature, and we'll do the rest! No need for copy-pasting. We will scan and scrape your content from a URL, import it once the Content Editor is created successfully, and provide you with guidelines and a Content Score.
You can even import content from URLs you previously ran through the Audit tool if you want to work on your audit suggestions instantly.
I encountered problems when fetching my URL 😢
Auto-Optimize is a feature in Content Editor that you can leverage to boost your content score.
After you finish writing your content and are ready to optimize it, you can use Auto-Optimize with a single click. Let our algorithms analyze the best opportunities to enhance your content and help it rank higher:
We will add relevant NLP terms to enrich your content while its original message and meaning remain unchanged. You will see real-time results, and once the tool finishes analyzing your content, a list of suggestions will be displayed in the right panel of your draft.
You can select a suggestion to see the exact section or heading that was auto-optimized, and compare the suggestion with the original version. You also have the option to undo the suggestion. Hit Save and close after review to finish the optimization.
I want to know more about the Auto-Optimize feature 🤓
The Research & Create Outline section helps you quickly build a well-structured article based on real competitor data. It gathers insights from top-ranking pages and automatically generates an AI-powered outline tailored to your target keyword.
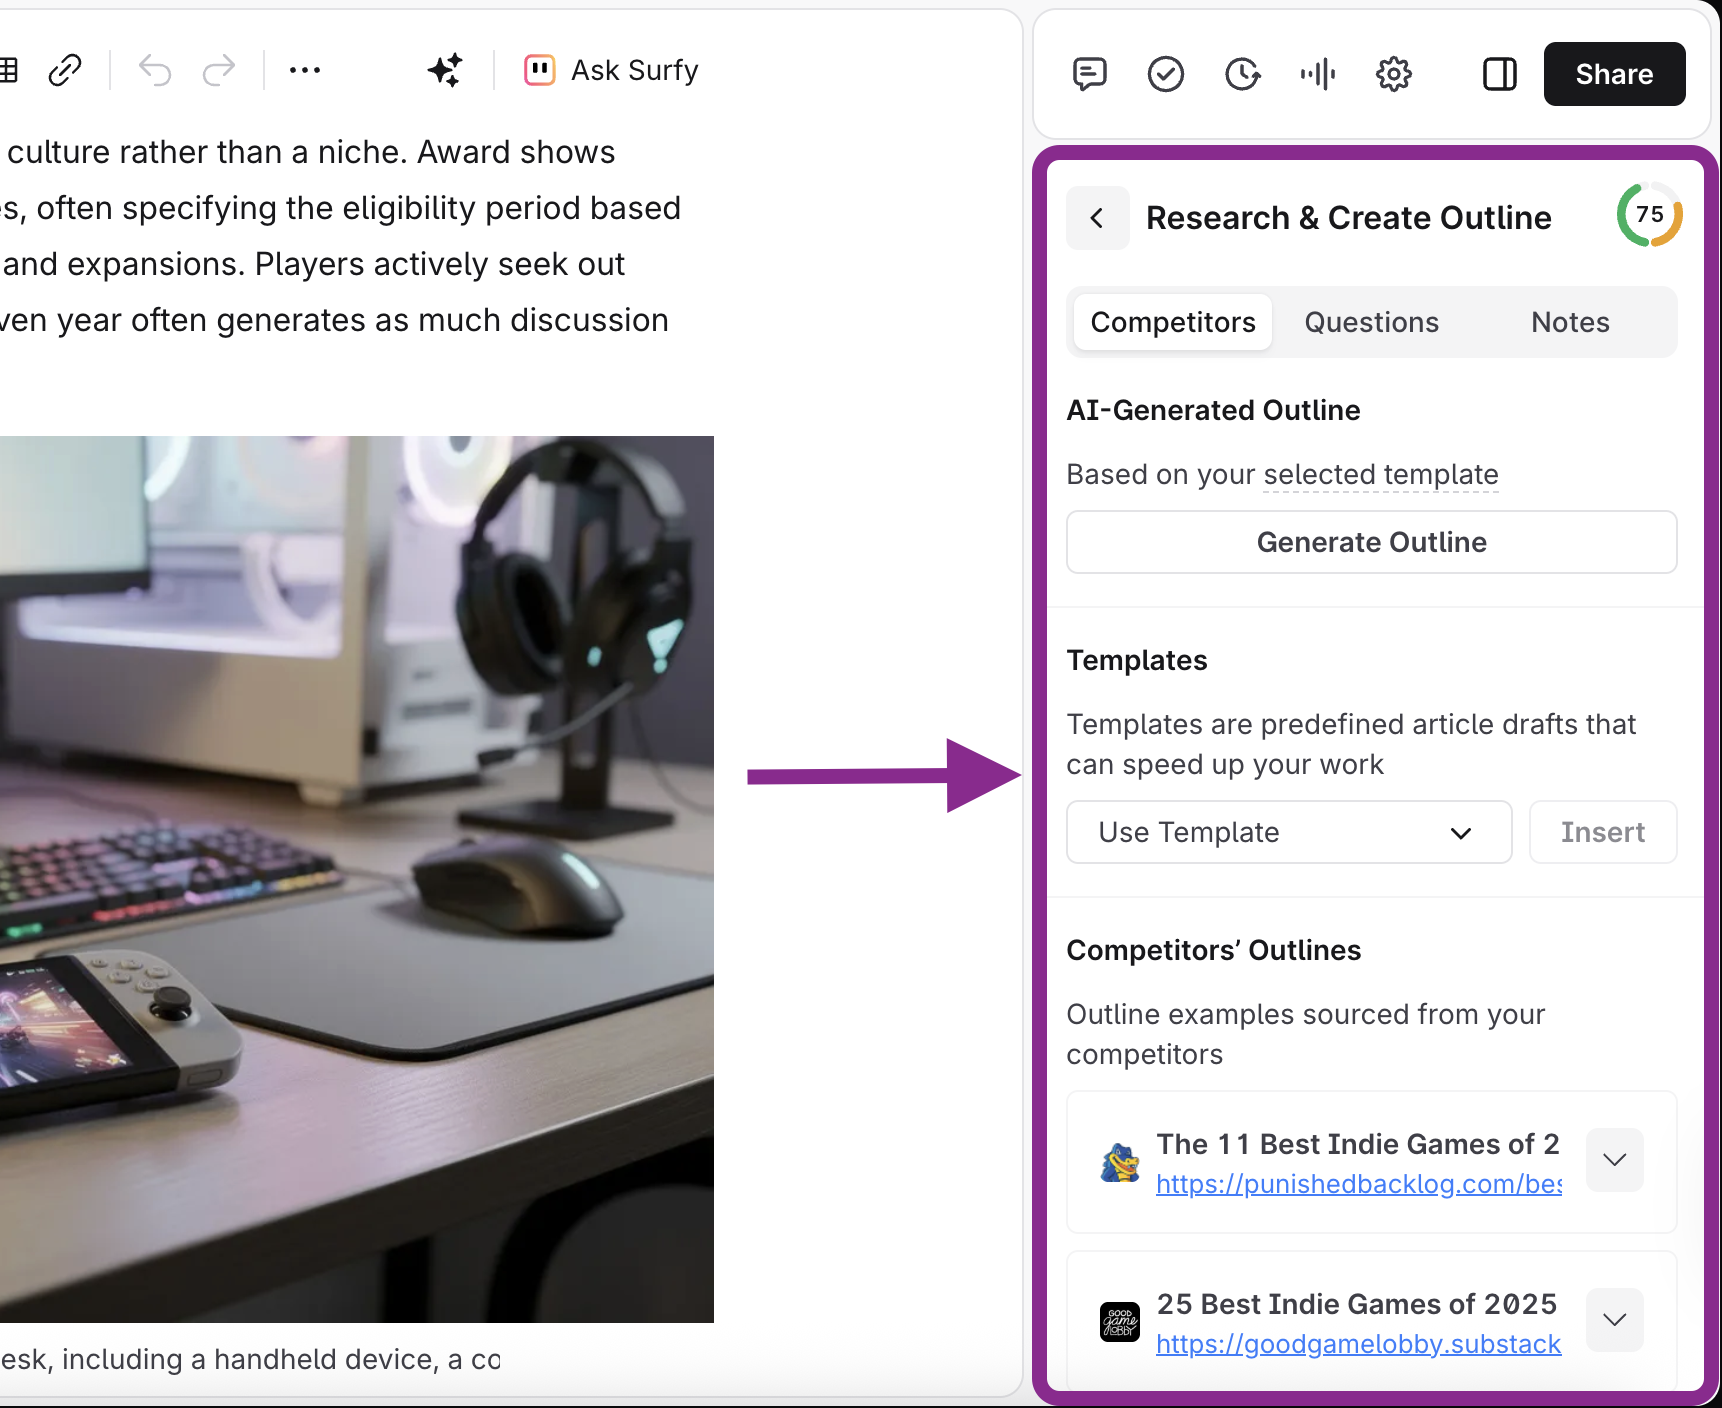
Additionally, the section includes a list of competitors’ outlines, allowing you to explore how other high-performing articles are organized and identify common headings, topics, and gaps to refine your own content strategy.
The last section of the Outline tab is a designated space for your notes. You can use it to set deadlines, distribute tasks, add general suggestions, or list your requirements.
There are a few ways to share your Content Editor draft, depending on who you're collaborating with:
Copied directly from your browser address bar.
Only accessible to users in your Surfer Organization.
Surfer login required.
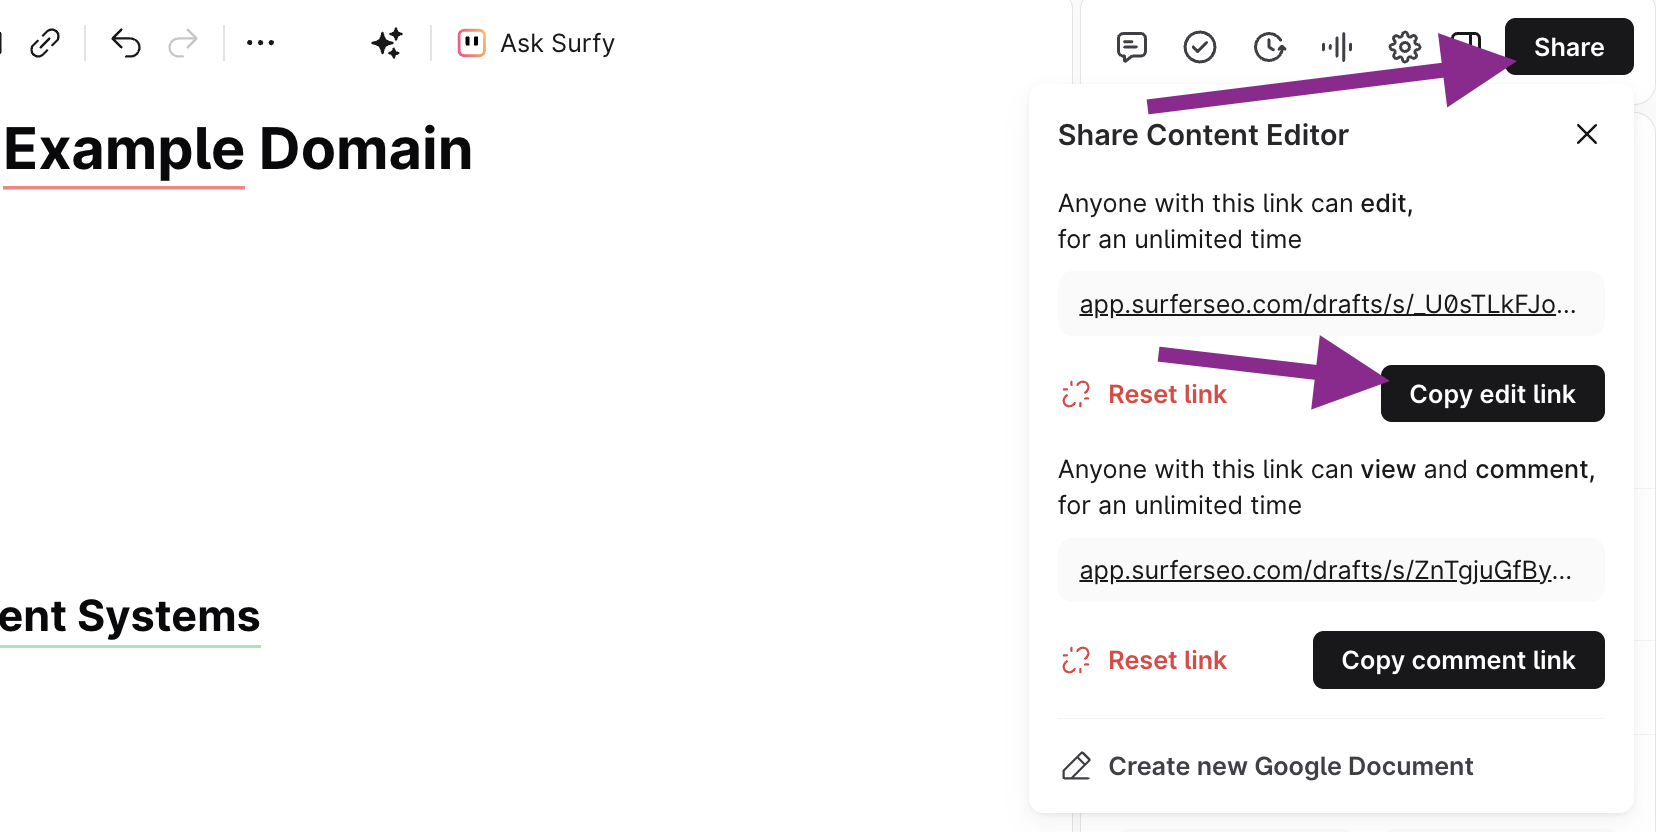
Generated via the “Share” button in the Content Editor.
Can be viewed by anyone with the link — no login needed.
Great for sending to writers or collaborators outside your organization.
Only one shareable link can exist at a time — to reset access, select “Reset link.”
Install the Surfer extension for Google Docs
Click “Create new Google Document” from the Share menu
Share it like any Google Doc — access is controlled through your Drive
Once created, the regular Surfer shareable link is deactivated
To return to a Surfer shareable link, click “Disconnect from Content Editor”
I want to learn more about Google Docs Extension!
Multiple people can work simultaneously on the same document, regardless of whether it's opened via the private link or a shareable link. You will see how many people are working on the file at the bottom of the page, and you will see real-time updates happening in your content.
You can also use the Comments feature, designed for easier exchange of ideas and feedback among teams working together on one article. With Comments, you can freely discuss without changing the draft itself.
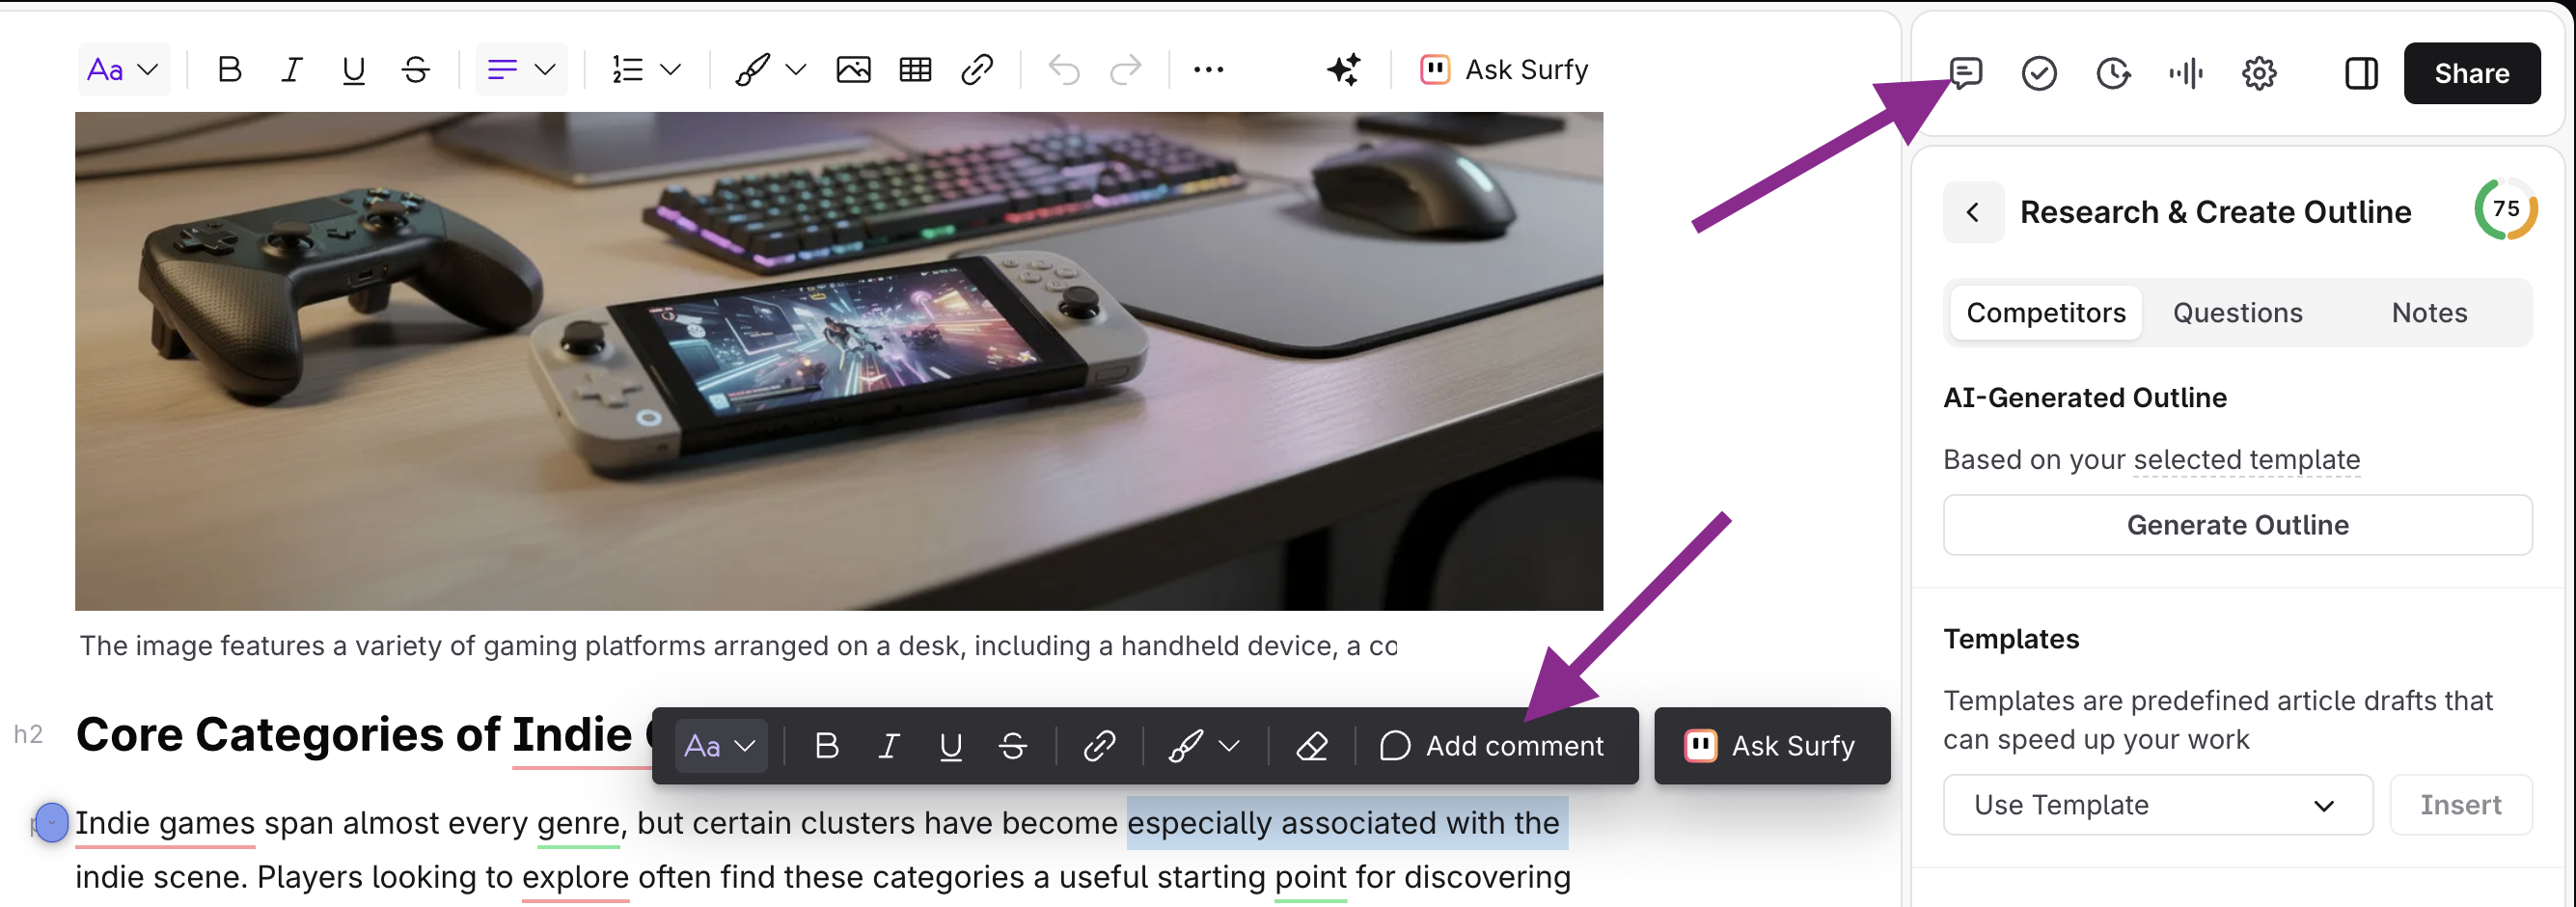
Just highlight a section or text to prompt the command menu and select Add comment. A text box will appear so you can write your ideas, suggestions, or feedback.
You can review a whole list of comments and replies in the Comments section available at the top-right part of your Content Editor.
Collaboration will work for anyone accessing the draft through Surfer, regardless of whether through a shareable link or directly from the Surfer dashboard. Collaboration does not work in Google Docs.
It will only work for Editors created after the feature was released (full release: March 11, 2024). If your draft does not support collaboration, you will see "non-collaborative" information at the bottom.
Anyone with access to the Content Editor can leave a comment, regardless of whether they are a member of the organization.

