In Content Editor, we've integrated a simplified version of the Keyword Research Tool. It's handy for finding the perfect main keyword or quickly discovering relevant secondary ones for multi-keyword analysis without extra searches.
How does it work?
After you enter your target keyword, we will provide up to 10 suggestions based on your input: 1 exact match and up to 9 relevant keywords. Each keyword has difficulty and volume listed beside it.
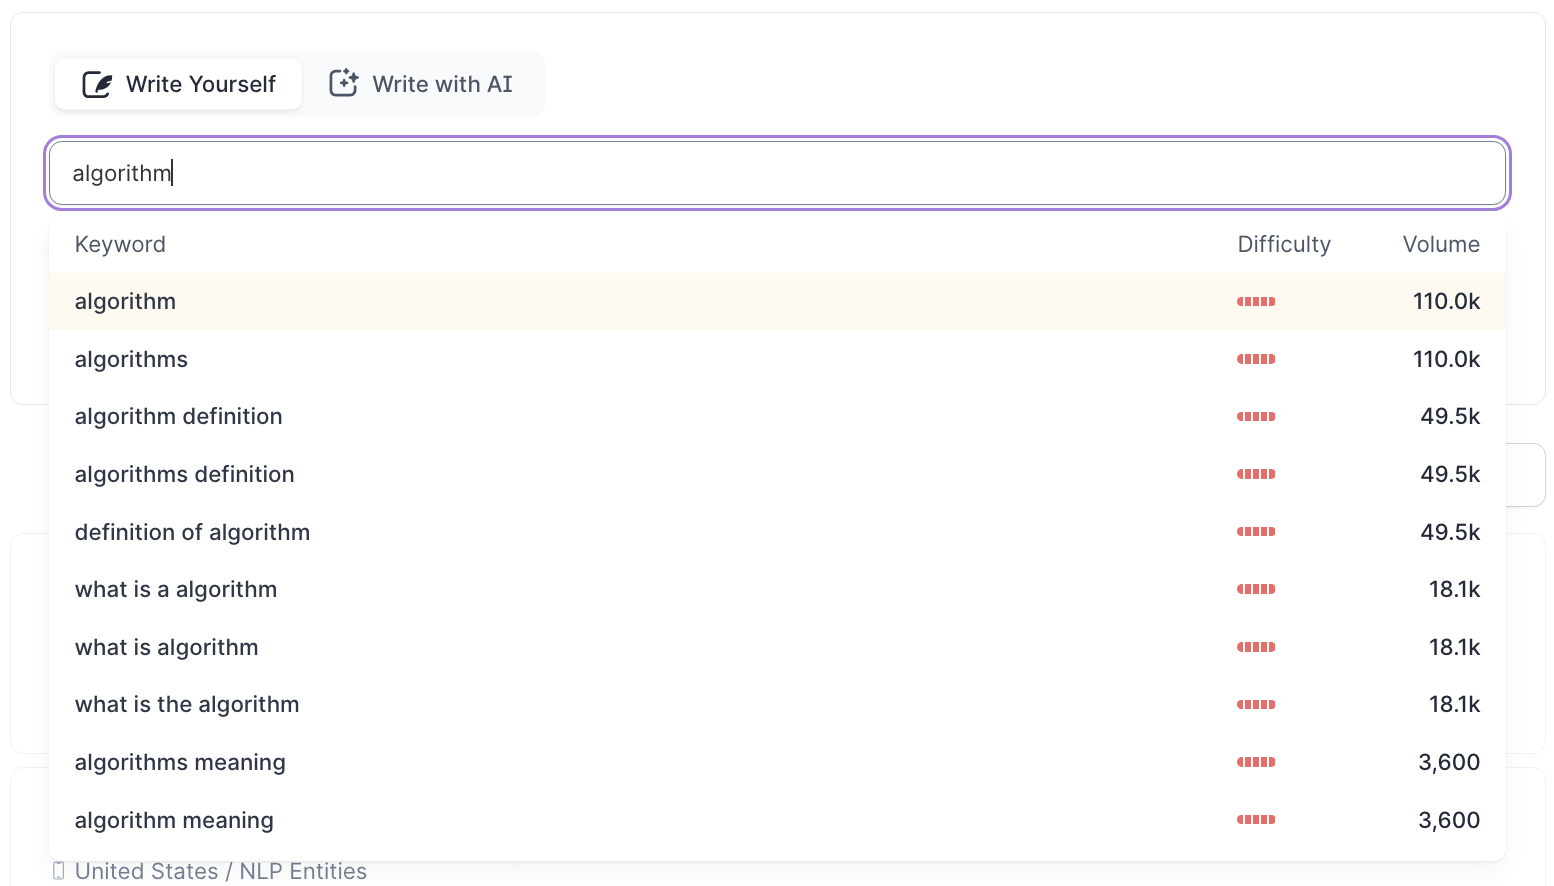
💡 Difficulty is represented by a level bar, and volume shows the estimated monthly search volume per keyword.
💡 If no estimation data is available, you can still use your keyword by either clicking "Add..." or pressing Enter from your keyboard.
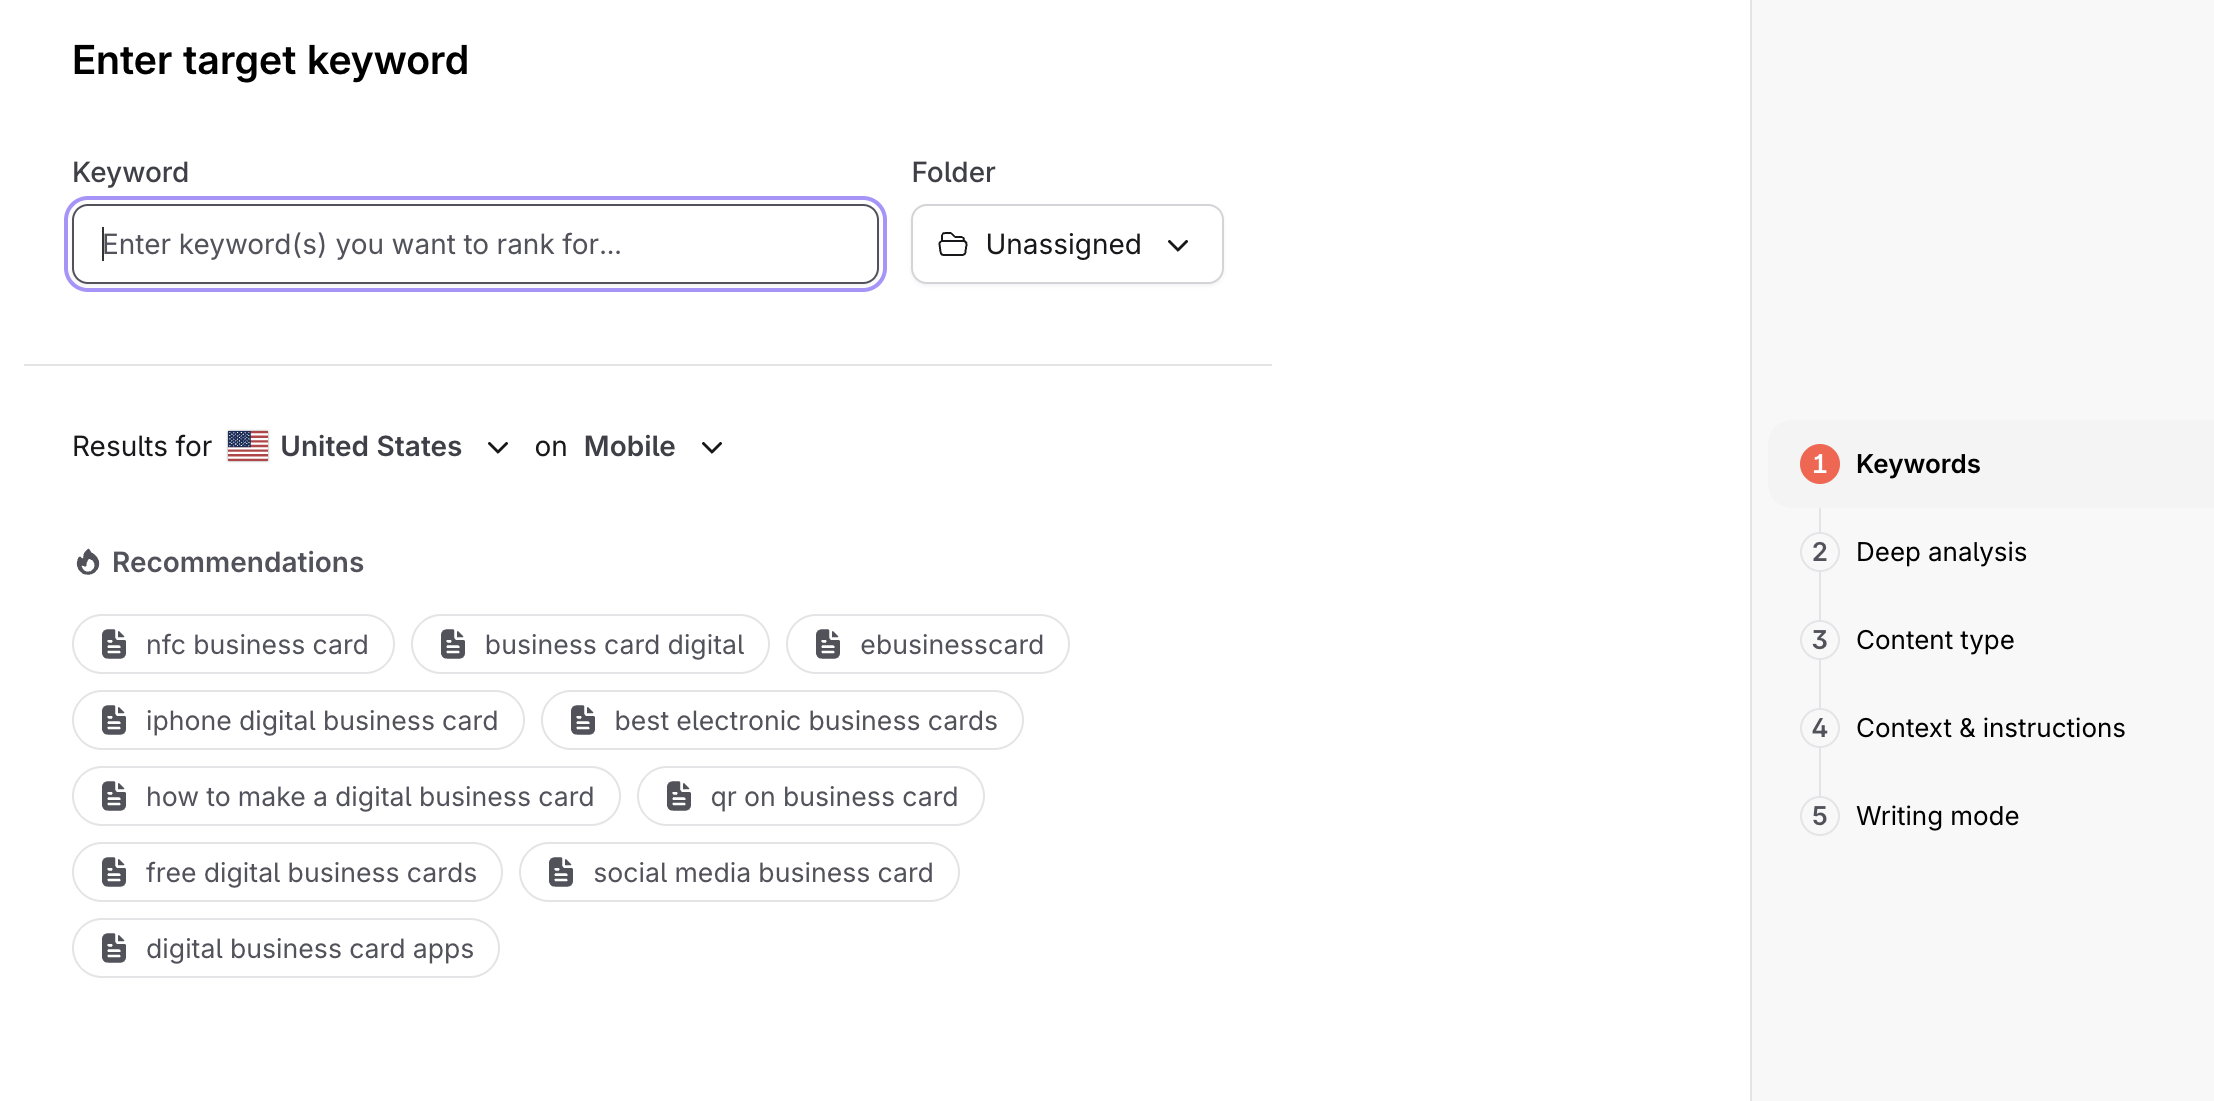
Alternatively, if you’re working in a branded workspace, surfer suggests top 10 keyword ideas you can use for new content.
In Content Editor, we can help you quickly summarize your articles for social media posts.
The feature is in the top-right corner, under the "Promote" button. It generates three social media post variants based on your content.
Key Points:
Template Variety: We currently offer five social post templates, generating three templates per run. As a result, some posts may appear similar, which is expected.
Content Depth: The more comprehensive your article in the Content Editor, the better the generated social posts will be.
Single Run Limitation: Each Content Editor session allows one repurposing run. Apart from the one-run-per-session limitation, there are no other usage restrictions.
You can close the "Create Post" window, and it will still generate in the background.
Don't hesitate to contact our team via [email protected] for feedback, improvement requests, or questions!
When adding an image, you'll see the following options:
Add from Pixabay - Images are free to use under the Pixabay Content License
Select from your files
Drag and drop
✨ Describe the image you want to generate
While the other options are straightforward, Surfy images are a new feature - click and describe the image you want. Image generation is tied to token usage per query, which is three images per article.
This is a great way to enhance your content with original visuals without leaving the editor!
Protip: Use an image placeholder if you still haven't decided when choosing images to include in the article.
Here's how to add a placeholder to Content Editor:
1. Click on the image icon.
2. You don't need to do anything more! Now you can see how adding images affects your score, even without making the final decision.
3. Add the alt text if you wish.
💡Remember that adding a suggested keyword to the alt text also counts towards Content Score! You can add the alt text to any image.
Plagiarism Checker helps you create complete and in-depth plagiarism checks on your content within the Content Editor. We need at least 50% of the total suggested word count in the guidelines to be able to run a plagiarism check successfully. Surfer uses its analysis to check duplicated content on the SERPs, so we will present you with a unique analysis that can be different from other tools.
There is no limit to how many times you can use the tool in a draft, but you must wait 10 minutes between every check. It is accessible in the web app on your draft’s shareable link, but not to drafts created outside Surfer (ex., Google Docs).
To run a plagiarism check, simply:
Open your Content Editor. If your text is still shorter than 50% of the suggested word count, plagiarism checker will not work.
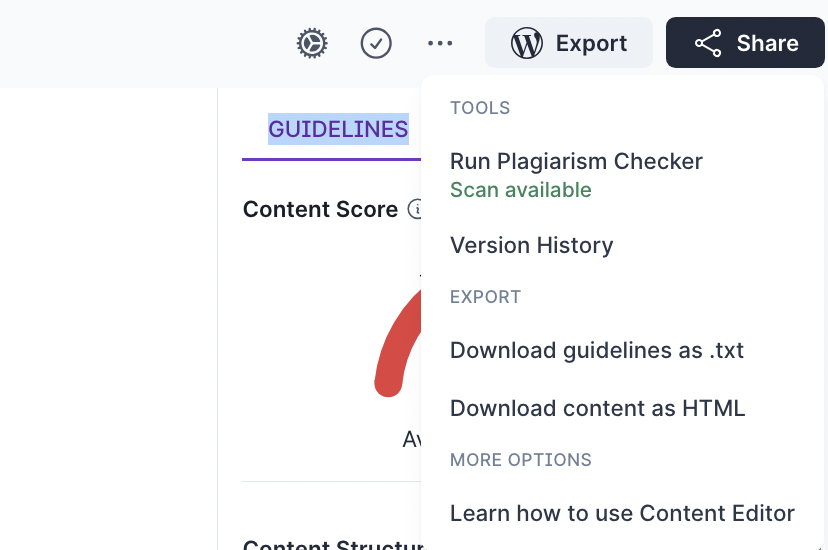
Click oh the three dots icon and select “ Run Plagiarism Checker”
Wait for the progress through the loader. Once done, you will see the results.
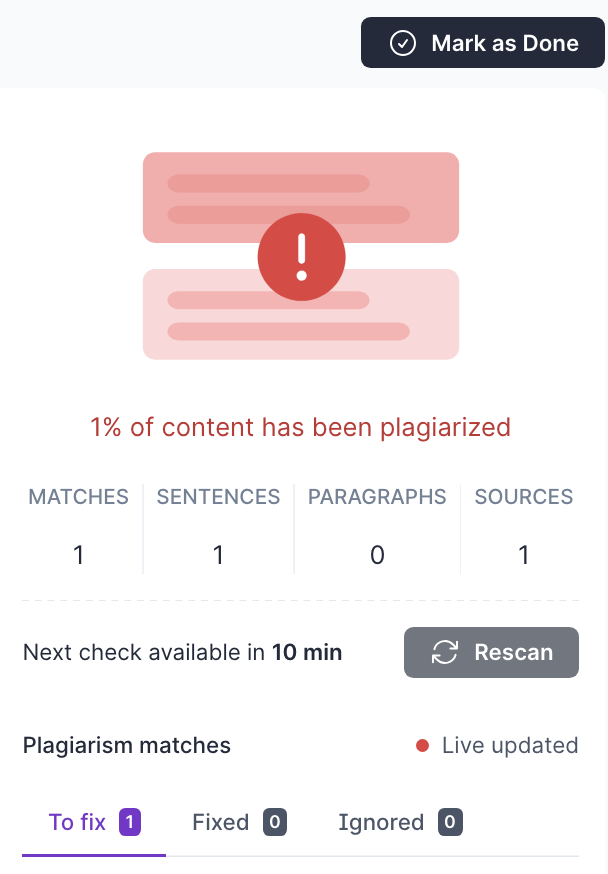
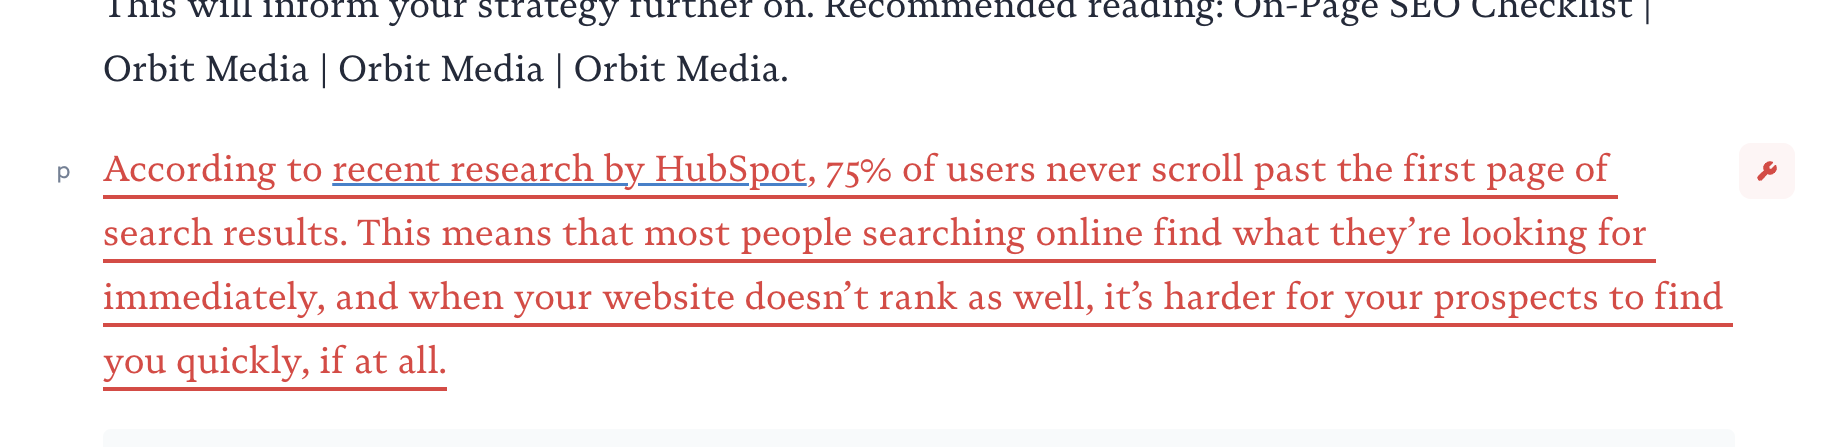
The plagiarised paragraphs will be highlighted in red if any plagiarism is detected.
You can also navigate between plagiarised paragraphs using the “Previous” and “Next” tabs.
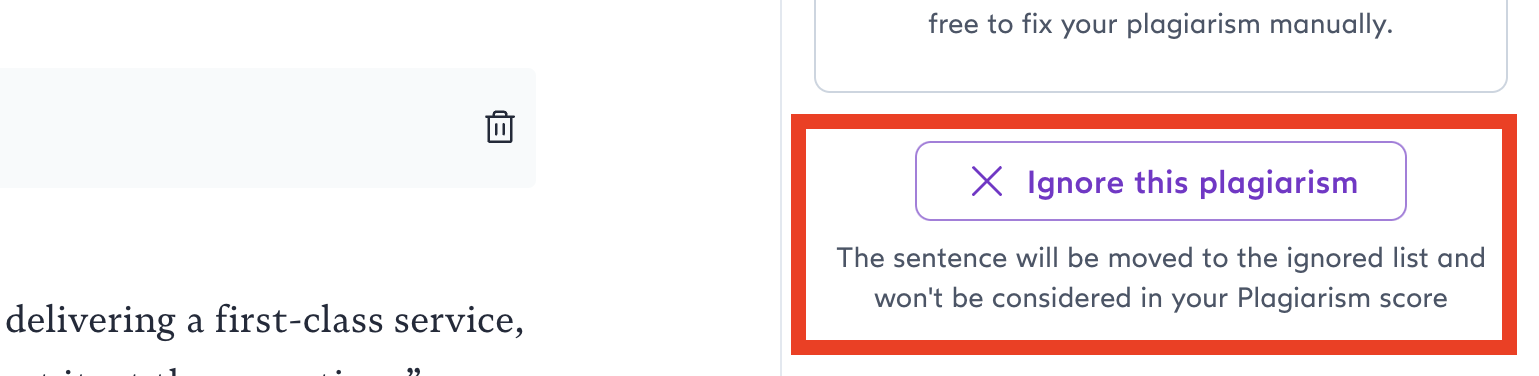
Make edits on highlighted paragraphs to remove plagiarism or “Ignore this plagiarism”
Changes will be reflected live, so whenever a plagiarised paragraph is removed, our Plagiarism Checker will react. After making edits on all changes, “Mark content as done” or close the plagiarism checker.
How do you calculate the plagiarism score?
That is the number of plagiarised words divided by the total words in your content. This, however, doesn’t include alt texts and headings.
Why does Surfer count plagiarised sentences and paragraphs differently?
A paragraph match is when the whole paragraph was plagiarised. A paragraph may consist of multiple sentences or just a single one. A sentence match is when a sentence that is part of a larger paragraph was plagiarised but not the whole paragraph.
I fixed my paragraph, but it appeared again when I ran a second check.
When fixing plagiarised paragraphs, it’s enough to change one letter for us to consider it “fixed,” as we don’t run the checker each time you change something. But on the next checker run, those matches will be shown again. For best results, consider making the fixes to paragraphs as a whole before running the next check.
Can I exclude my URL from coming up as a plagiarised source?
If your page is published online, Surfer would bring it up as a source. You can, however, "Ignore" the plagiarism suggestions from your site, and they won't be counted in the plagiarism score.
The Version History feature allows the owner and members of the organization who have access to the main drafts to bring back past versions of their articles with a few clicks, if necessary. It can be used to fix mistakes or bring back outdated versions.
To access Version History, you can either:
Click on the "Show version history" at the bottom, next to sync info
or click the three dots icon in the top-right corner and select the “Version History” option.
On the right side panel, you will be given a list of the article's versions, separated per day and editing time. Click on the desired version to preview it and if you found the right one, remember to click the "Restore" button at the top of the Editor to save changes.
All draft changes are saved automatically and constantly synced, but creating a backup version takes some time. To trigger a new backup creation, add extra space or a word to the content.
Backups for each draft are stored for up to 30 days, so anything older will automatically be removed. Editors with no changes in the last 30 days will only have 1 backup version of their draft, which contains the current draft.
👉 Customization Panel configurations are excluded from the feature and won’t be restored. It will stay the same regardless of the version you bring back. Version History will also not be available via shareable links or using other extensions/integrations like Google Docs.
You can insert tables into your content in two simple ways:
Use the Insert Table icon: Click the table icon on the toolbar.
Type “/table”: Enter “/table” directly in the Content Editor.
Use Commands to create content without constantly moving your mouse. With a single slash /, you can choose various options from the menu, such as adding images, headings, links, or lists.

Shortcuts can help you edit your text even quicker. They are adjusted on your device, so you hover on the icon depending on what changes you need for your content.

You can select the text you want to edit, and the Bubble Menu will appear and follow you within your work - you don't need to scroll back up to the menu.
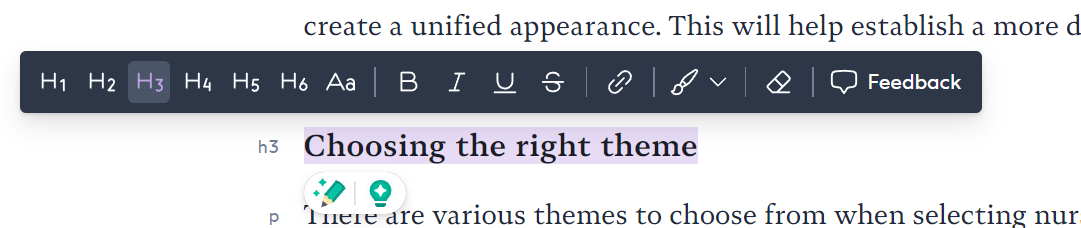
You can add links to your articles from the same menu. Once added, hover your cursor over the link to preview, delete, or edit it.
Would you still like some help? Don't worry! You can contact us at [email protected] or via live chat by clicking the icon in the bottom-right corner.
