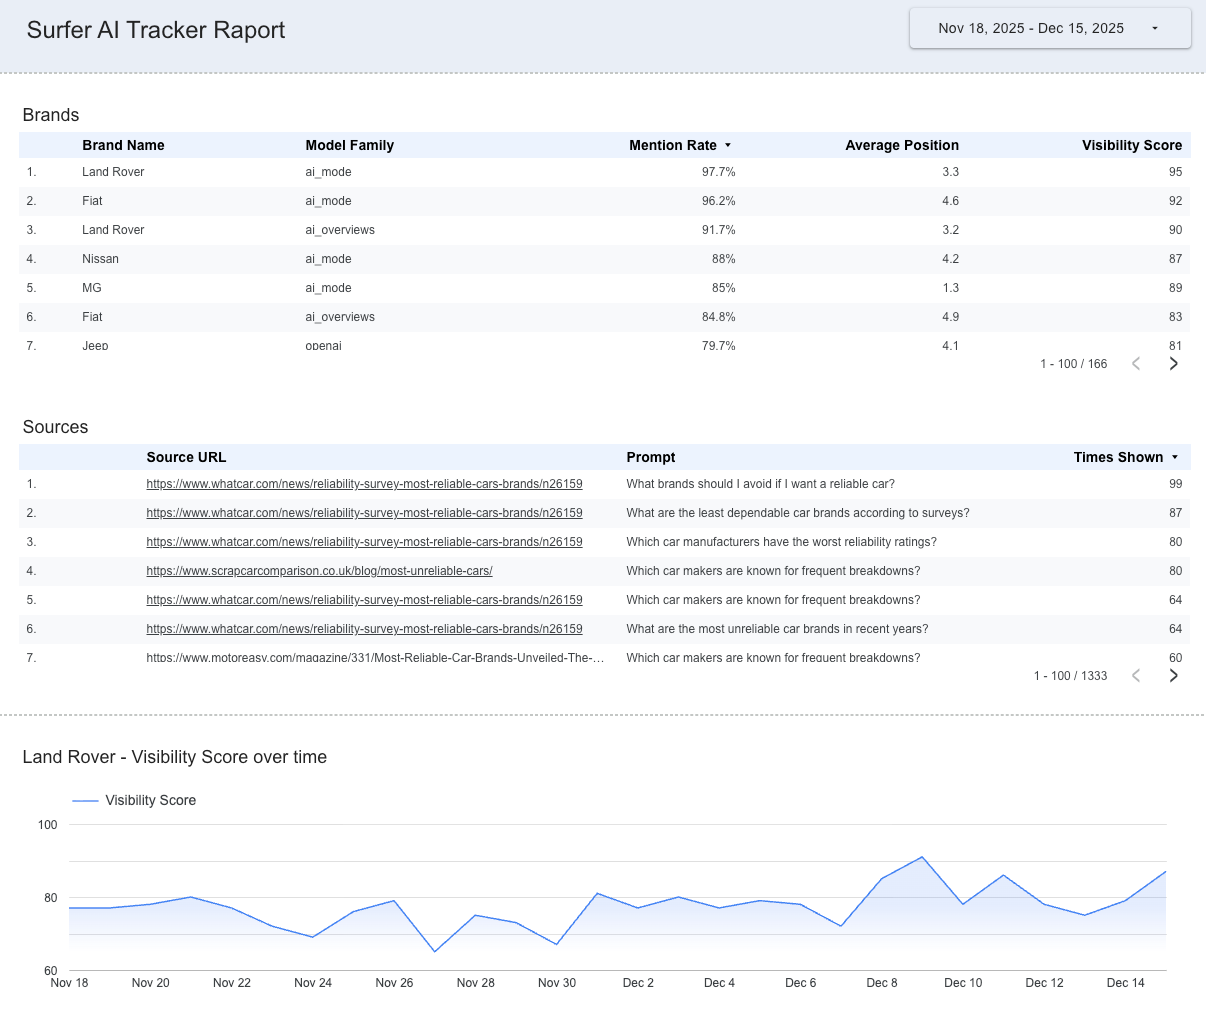
Use Surfer AI Tracker data directly in Looker Studio to build dashboards, track trends, and analyze AI visibility over time. This article explains what the connector supports, how to set it up, and a few common tips for working with the data.
The Surfer AI Tracker Connector is a Looker Studio connector that standardizes access to Surfer AI Tracker data via our API. It allows you to connect your AI Tracker projects to Looker Studio and create custom reports without manually exporting data.
This feature is available with the Peace of Mind and Enterprise plans, as it requires API Access. If you don’t have your API key yet, contact our support team to get one ([email protected])
The connector currently supports two data types: Sources and Brands (Competitors in Surfer AI Tracker).
Dimensions
Day (date)
Model Family (text)
Source URL (URL)
Prompt (text)
Metrics
Times Shown (number, aggregated as sum)
🚧 Coming soon: Mentioned and Confidence
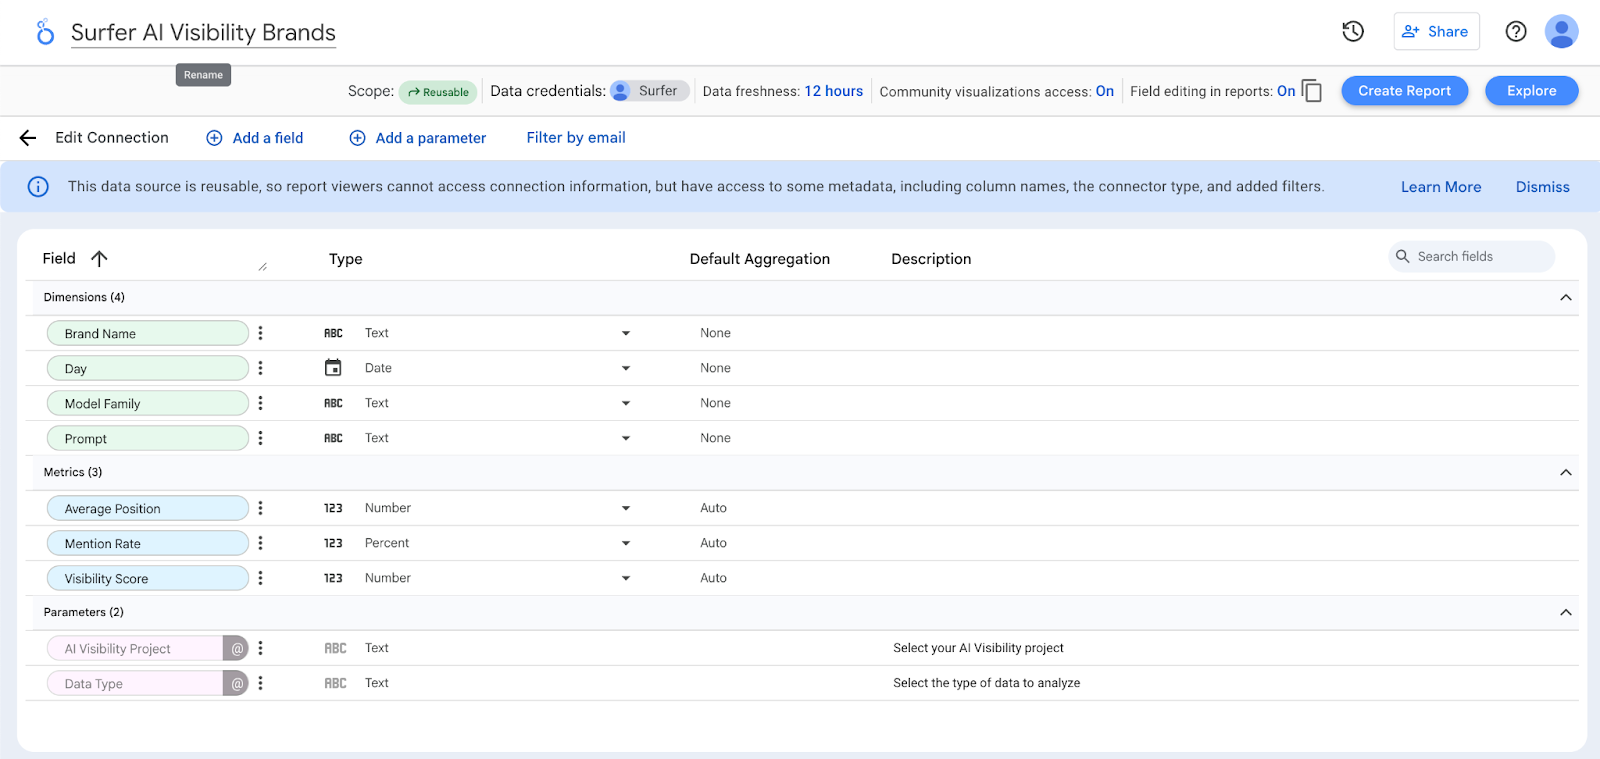
Dimensions
Day (date)
Model Family (text)
Brand Name (text)
Prompt (text)
Metrics
Mention Rate (percent)
Visibility Score (number)
Average Position (number)
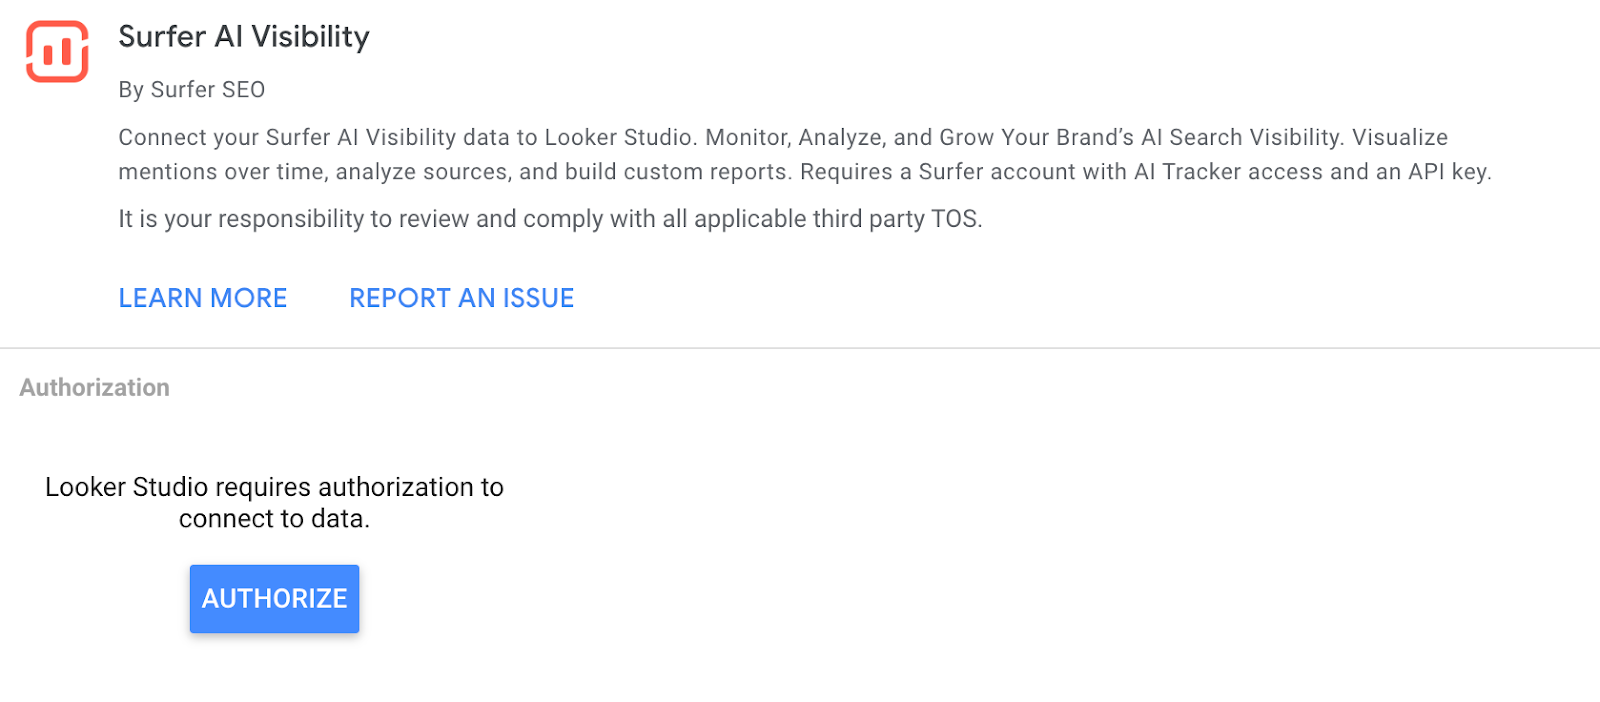
1. Open the connector using the provided URL.
2. Select Authorize to let Looker Studio use the Surfer AI Tracker connector.
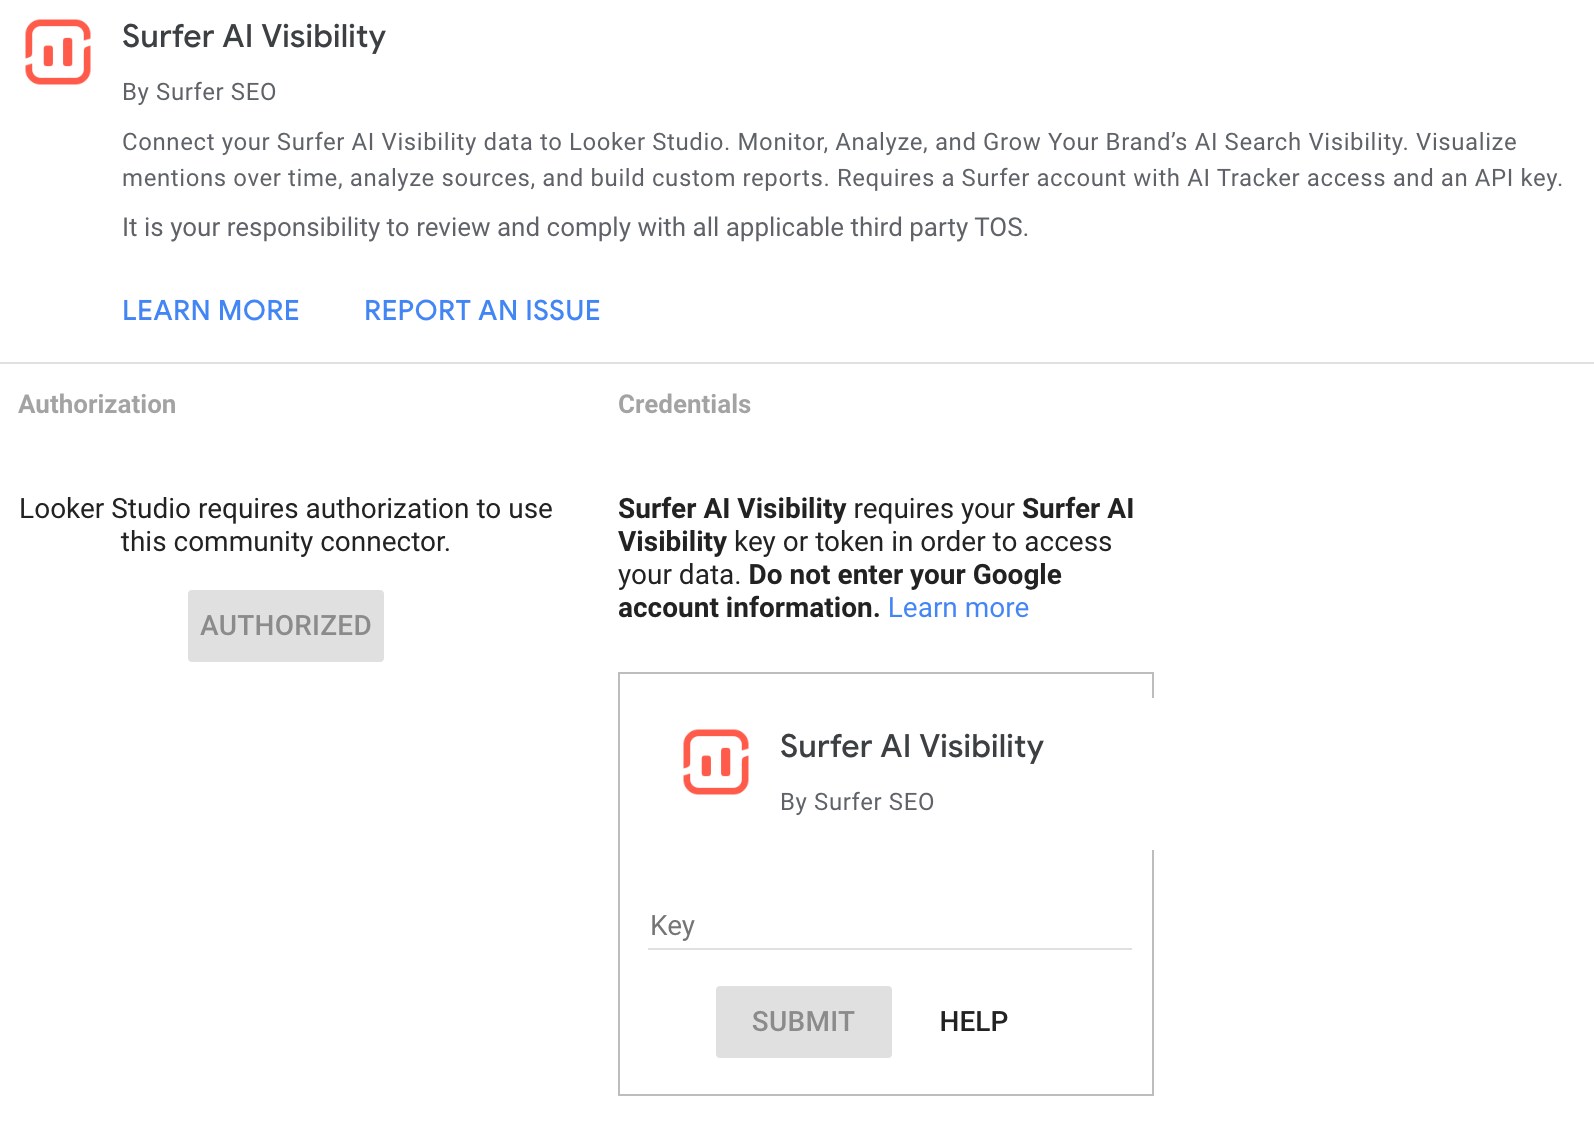
3. Enter your Surfer API key. If you don’t have your API key yet, contact our support team to get one ([email protected])

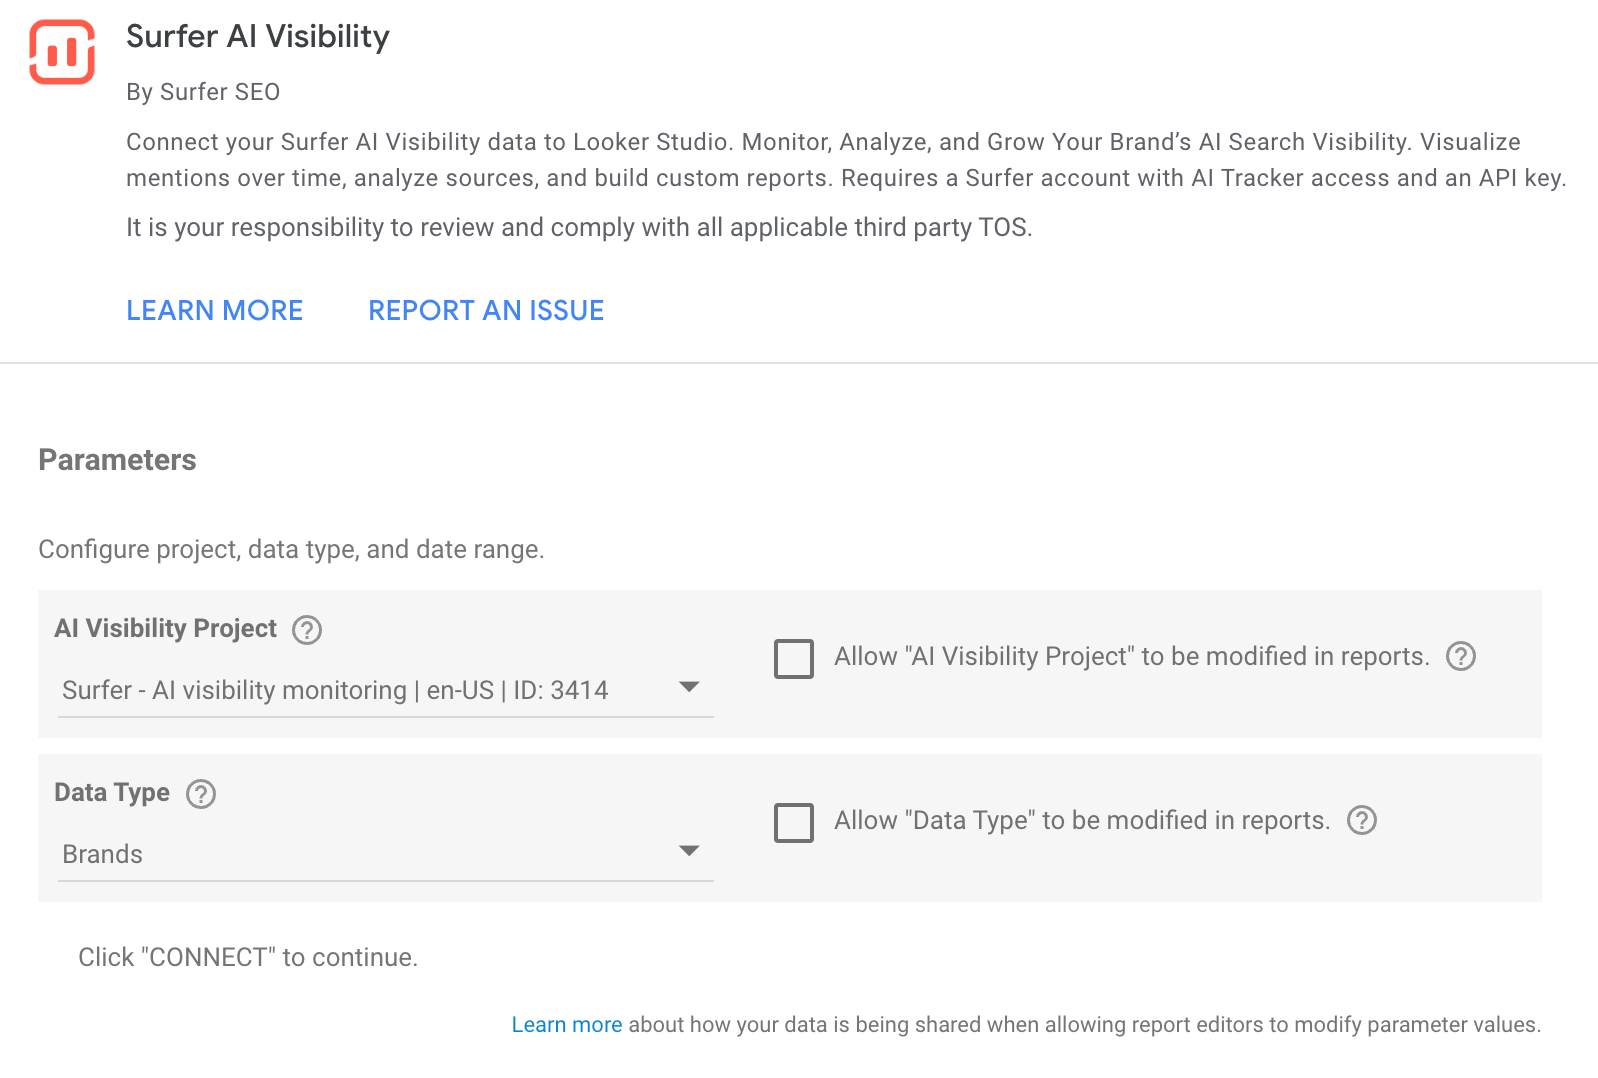
4. Select the AI Tracker project you want to analyze and the data type: Sources or Brands.
5. Change the data source name in the upper-left corner to clearly distinguish between Sources and Brands (for example: AI Tracker – Sources).
6. Repeat steps 1–4 to add the second data source if you want to analyze both Sources and Brands in Looker Studio.
Both data sources are configured so that metrics are calculated only when their primary dimension is used:
Sources → requires Source URL as a dimension
Brands → requires Brand Name as a dimension
If you try to use metrics without the required dimension, Looker Studio will return an error. This is expected behavior.
Other dimensions (Day, Model Family, Prompt) are optional.
If you see a "No data" message, check if:
The selected AI Tracker project is enabled
Data exists for the chosen date range
The same data is visible in the AI Tracker application
Looker Studio reflects only the data available in AI Tracker.
You can create filters even without mandatory dimensions.
If no metric is selected, Looker Studio allows you to select dimensions without Brand Name or Source URL (for example, filtering only by Model Family).
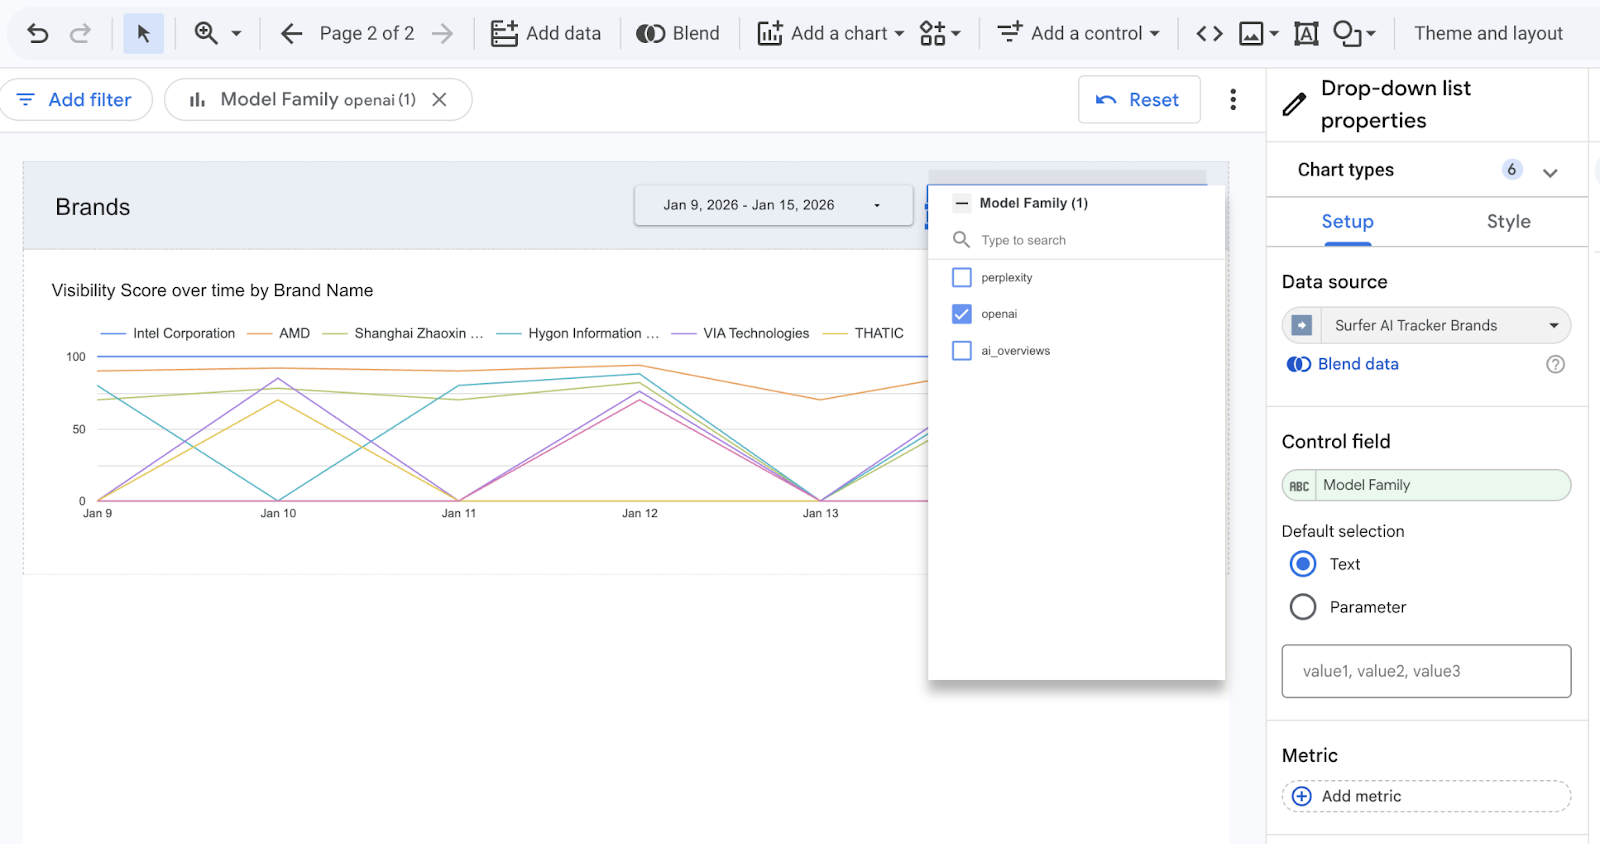
You can also add interactive filters using the Add control, such as a drop-down list for model selection.
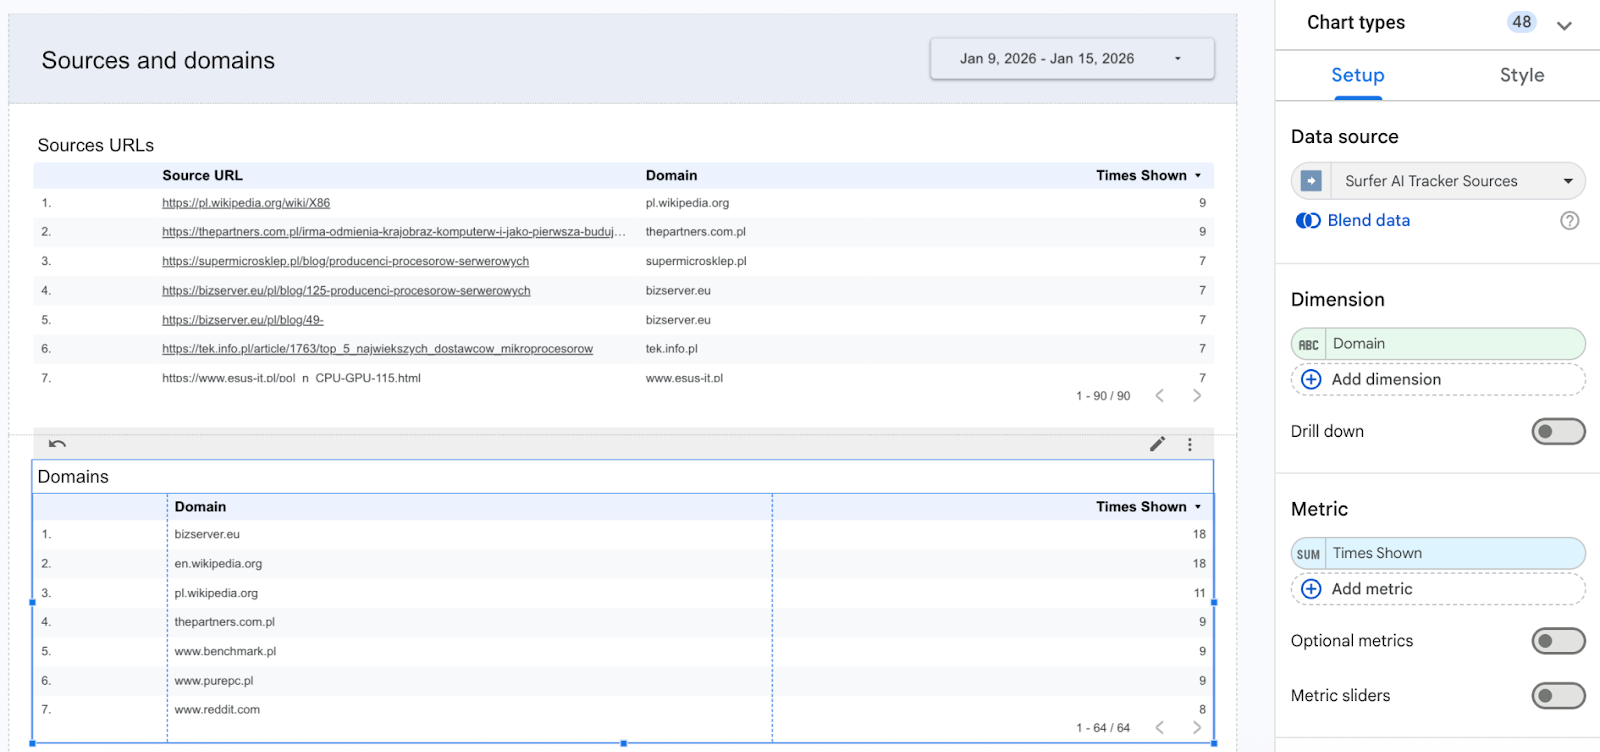
To group Times Shown by domain instead of full URLs:
Use the Sources data source
In the chart or table, click Add calculated field
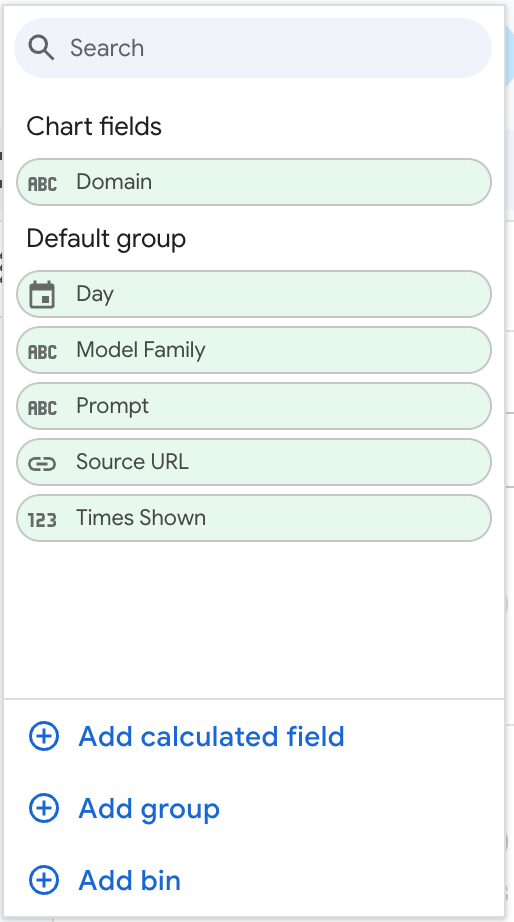
Create a new field with the following formula:
REGEXP_EXTRACT(Source URL, '^https?://([^/]+)')
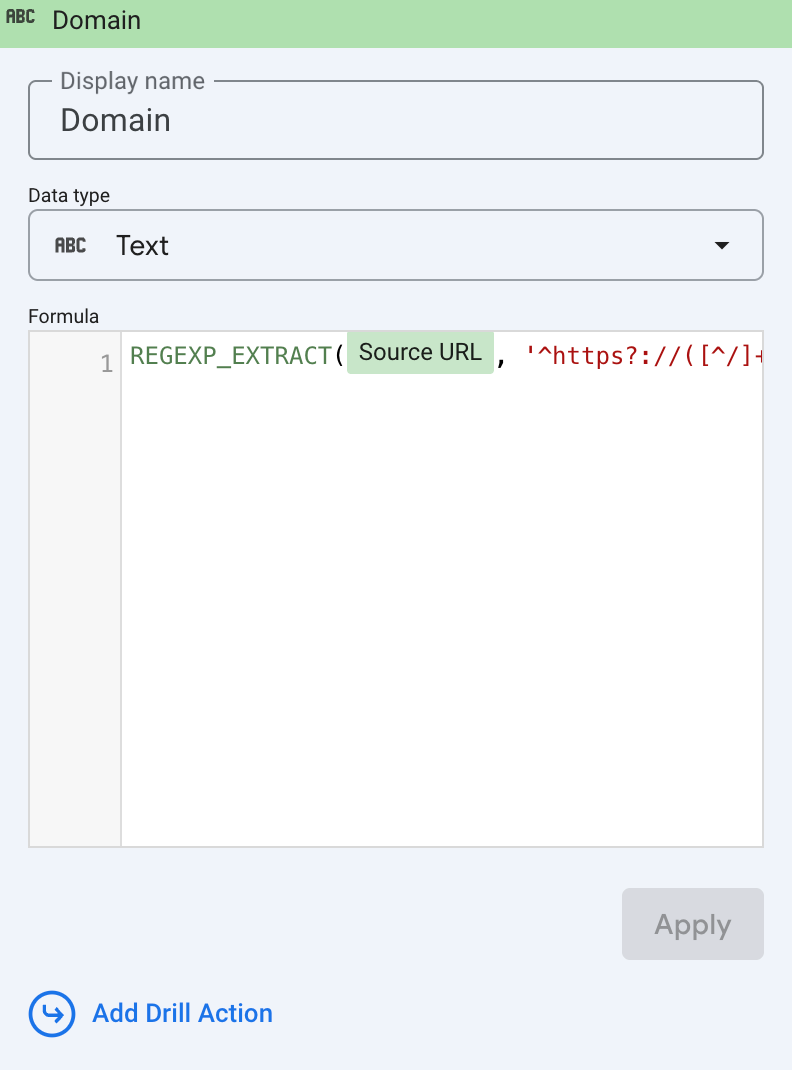
This extracts the domain from the Source URL, allowing you to group and aggregate metrics (such as Times Shown) by domain.
Once the initial setup is complete, your API key is securely stored within your Google account, eliminating the need to enter it again for subsequent setups. To use a new API Key, the currently saved one must be reset first.
1. Open https://lookerstudio.google.com/datasources/create/.
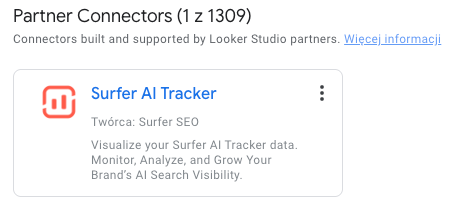
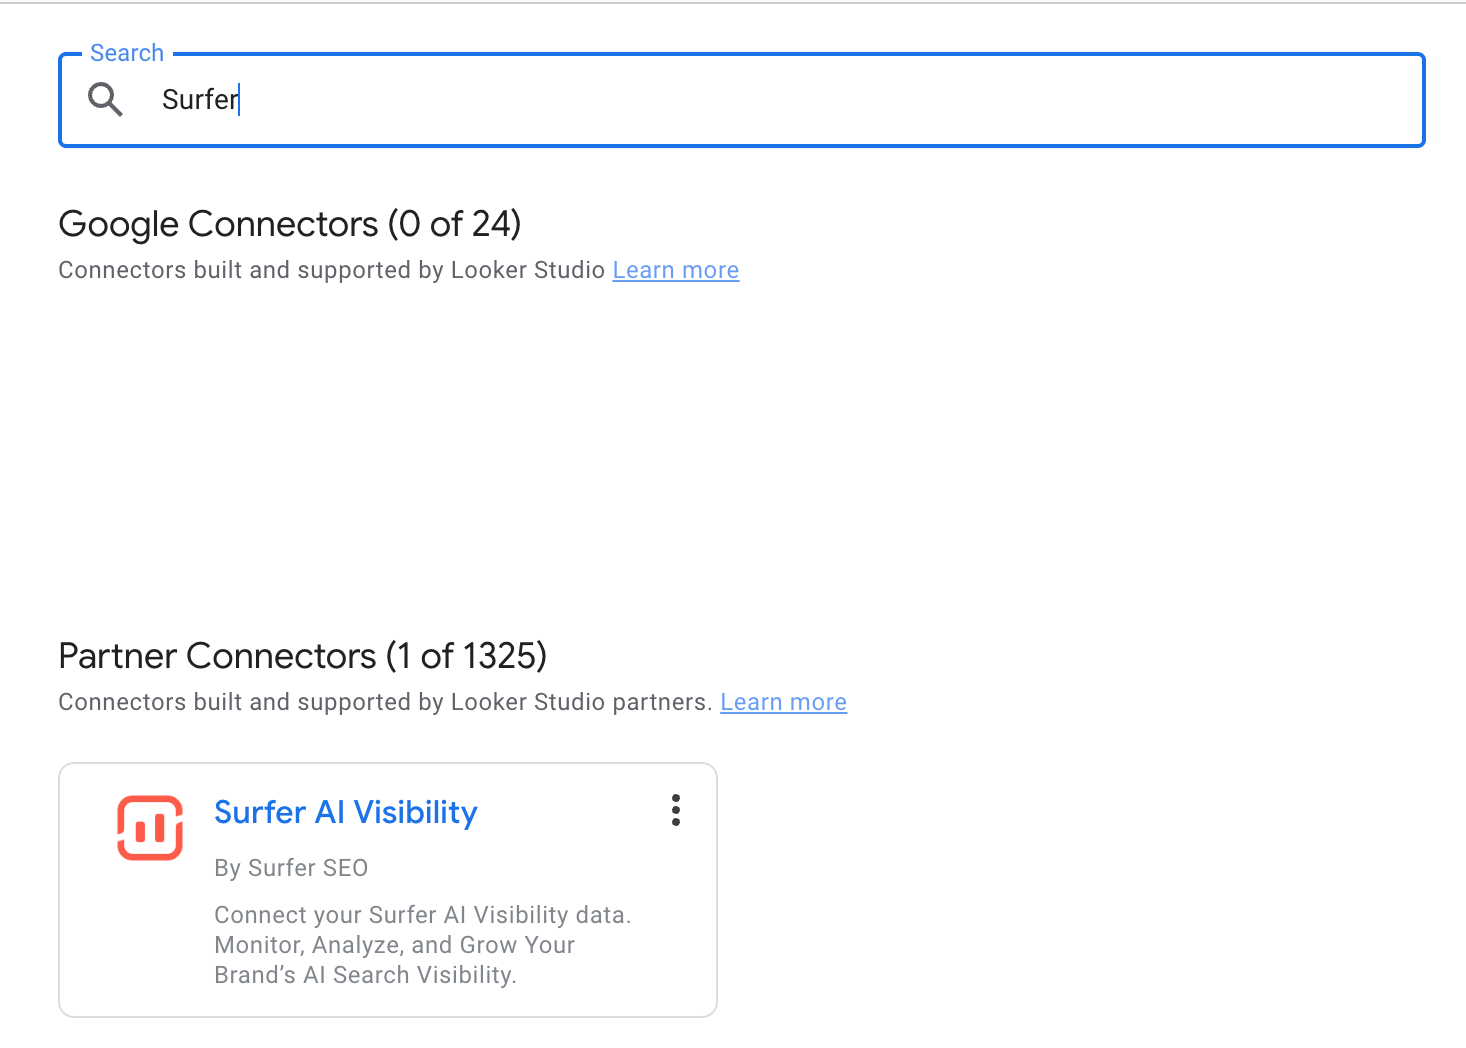
2. Search for Surfer.
3. You should see “Surfer AI Tracker” under Partner Connectors. Hover over the tile. You should see the three vertical dots (⋮).
4. Select those dots and then Revoke Access. Confirm.
Now, when the connector is added again, the system should prompt for the API key.
Select the ellipsis button at the top-right corner. Choose Copy report.
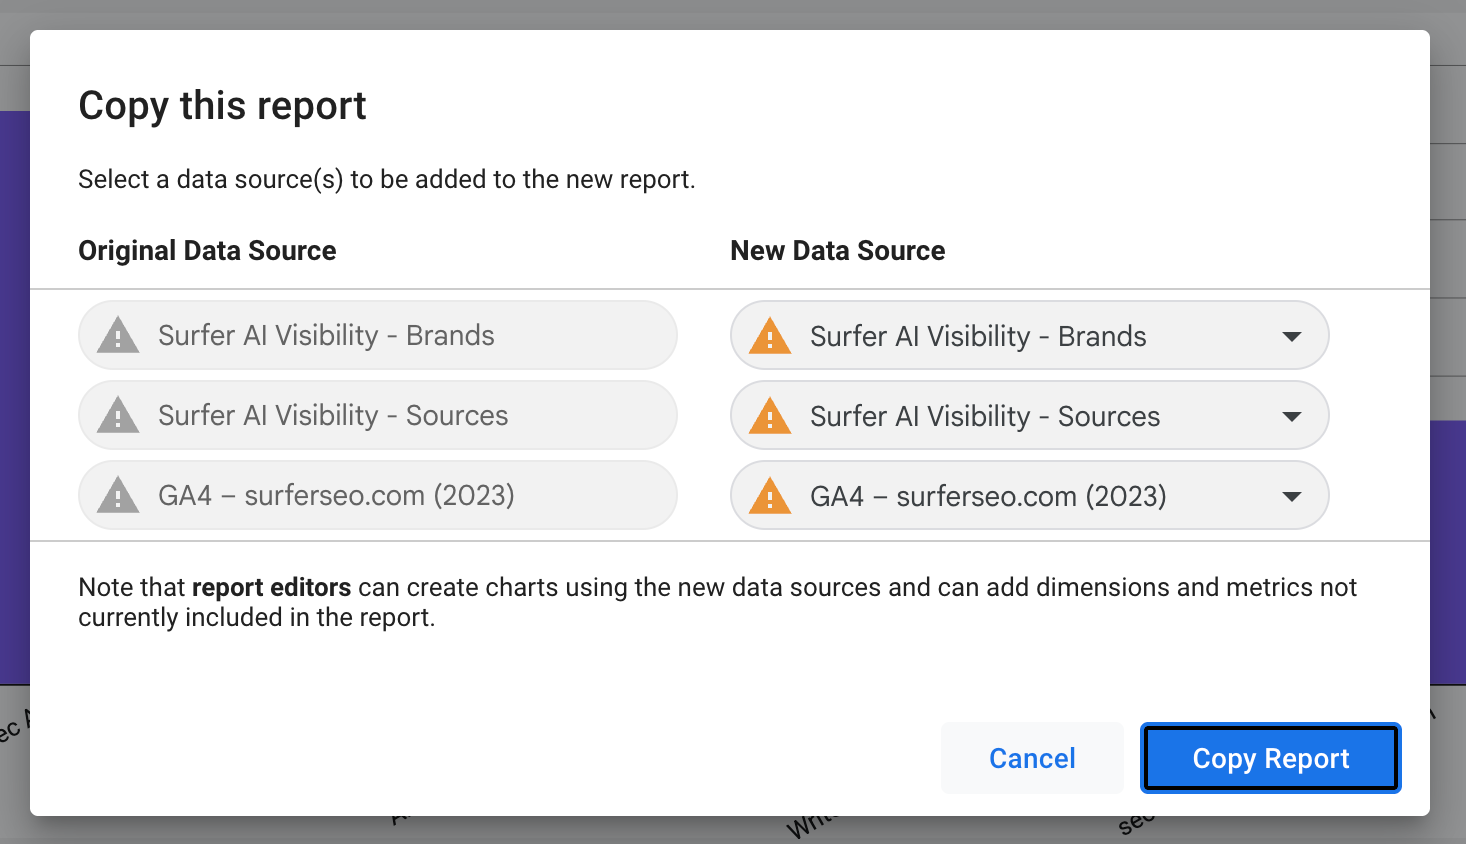
Select your pre-configured data sources or create new ones by selecting Create data source.
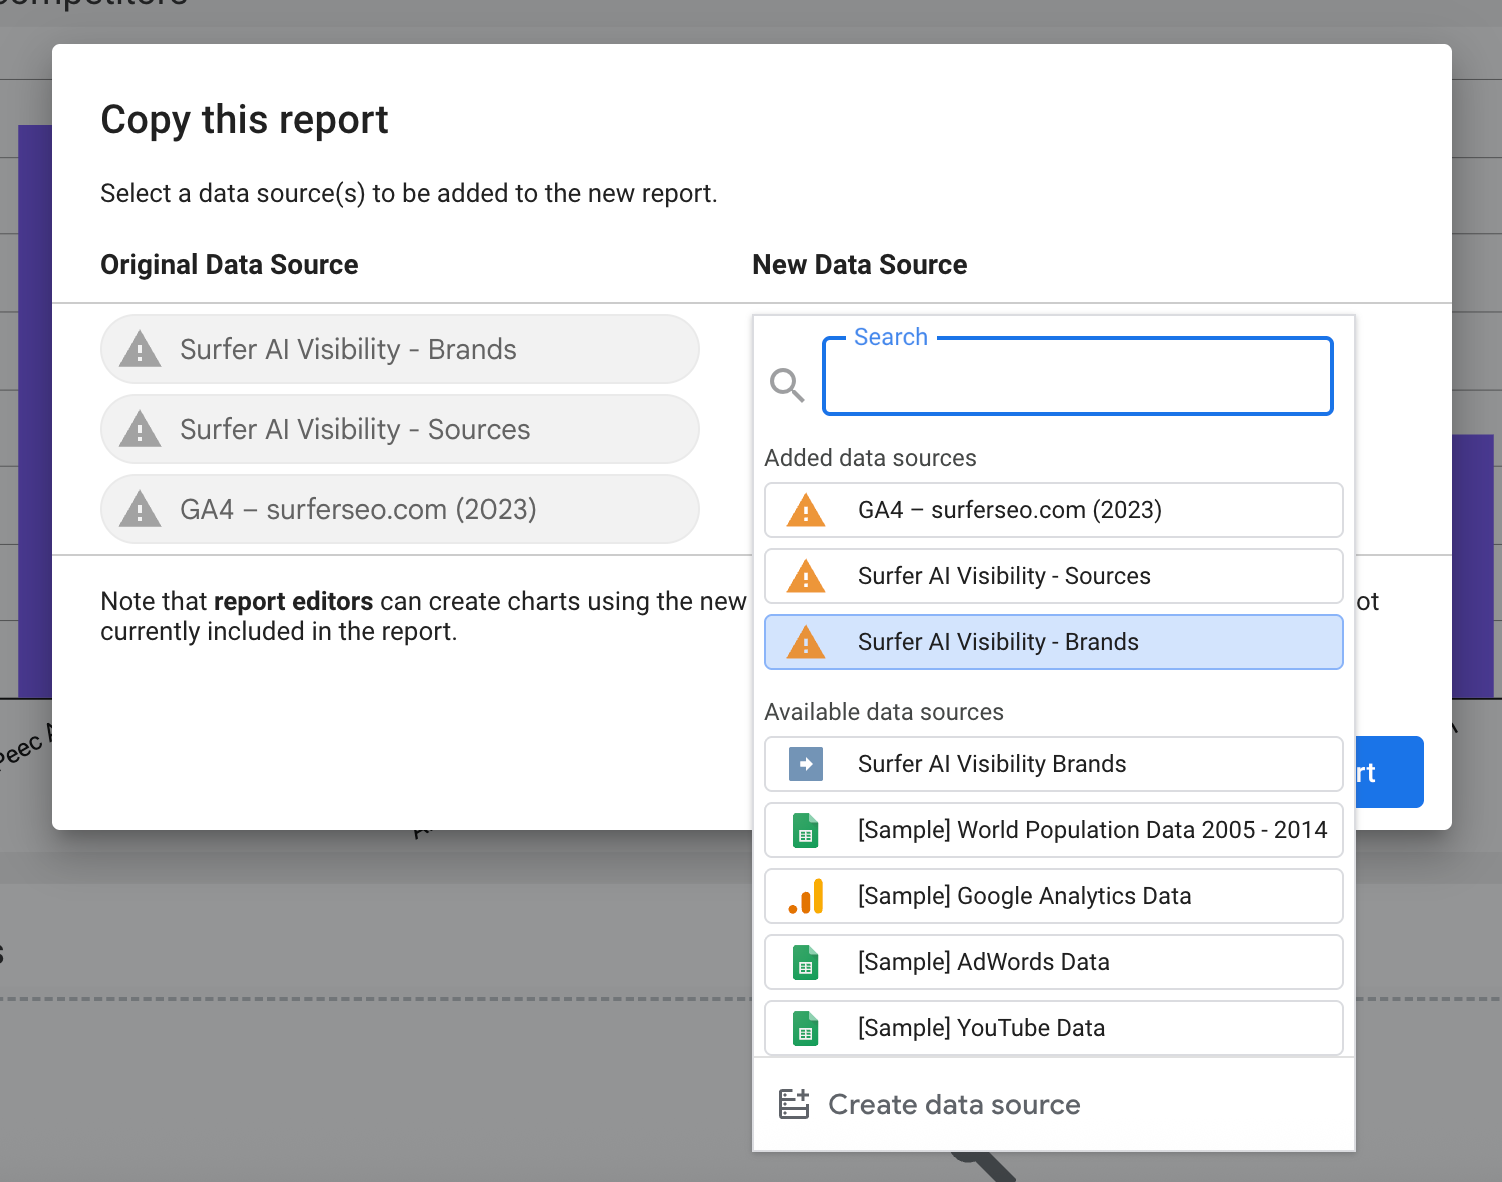
Search for “Surfer”.
Select it. Set it up as instructed in the "How to set up the connector” section of this article. Do the same for Brands and Sources.
You can copy the template without a GA4 connection and set it later. You should end up with (if you omit GA4 setup now):

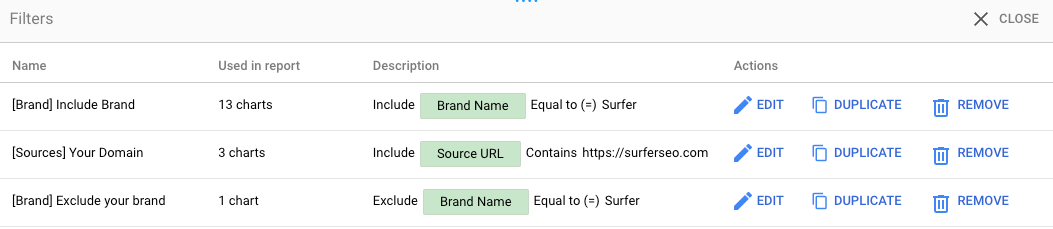
After setting up template datasources, some filters require you to select your brand name to work properly. Luckily, you can do that in one place for all dashboards.
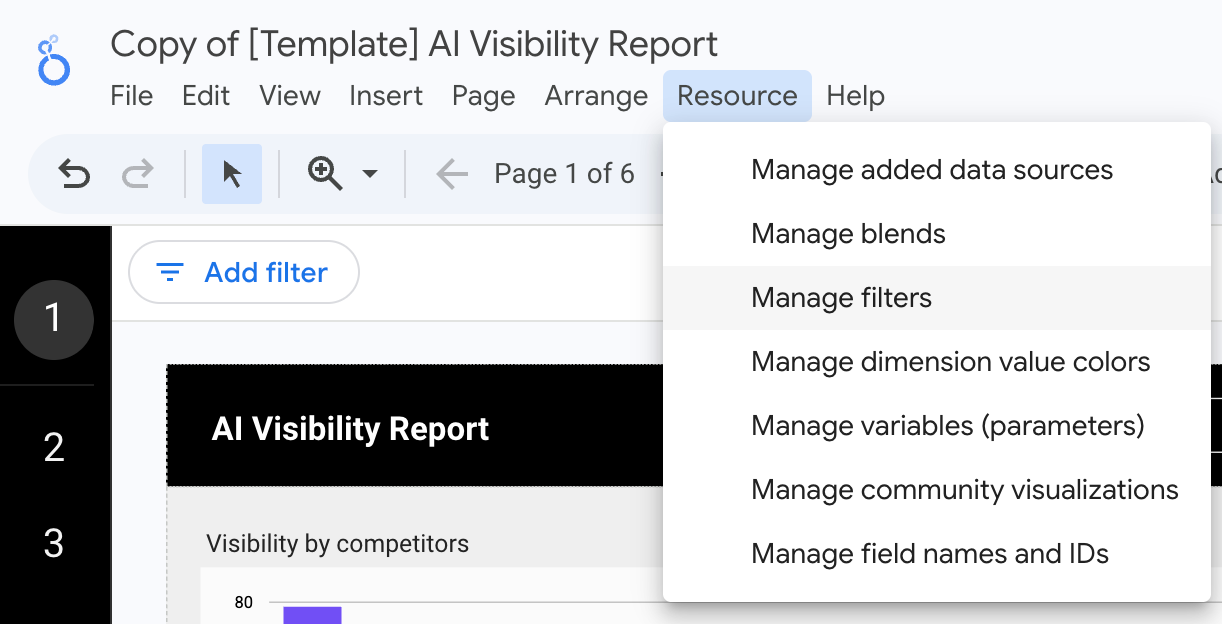
Navigate to the top bar, select Resource, and then Manage filters.
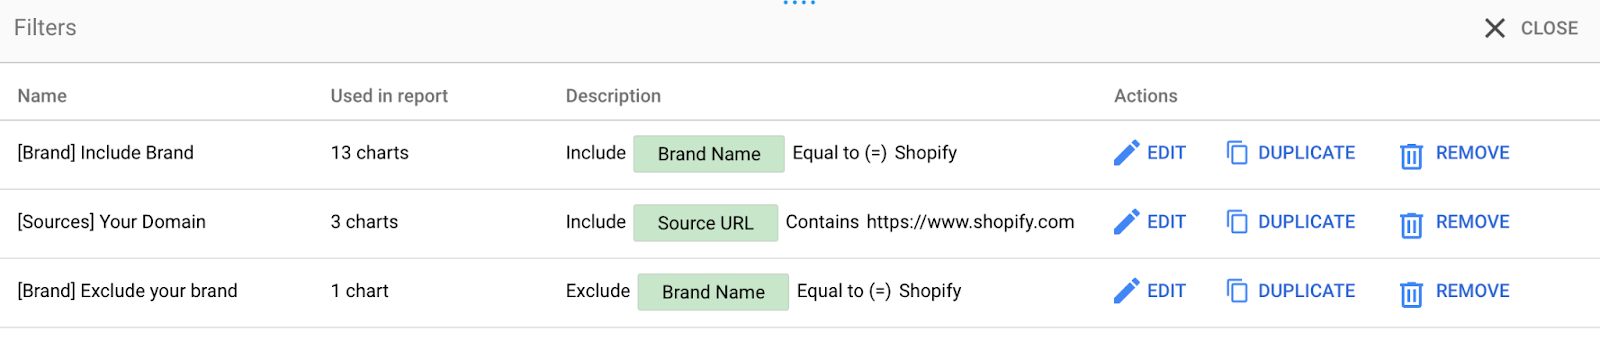
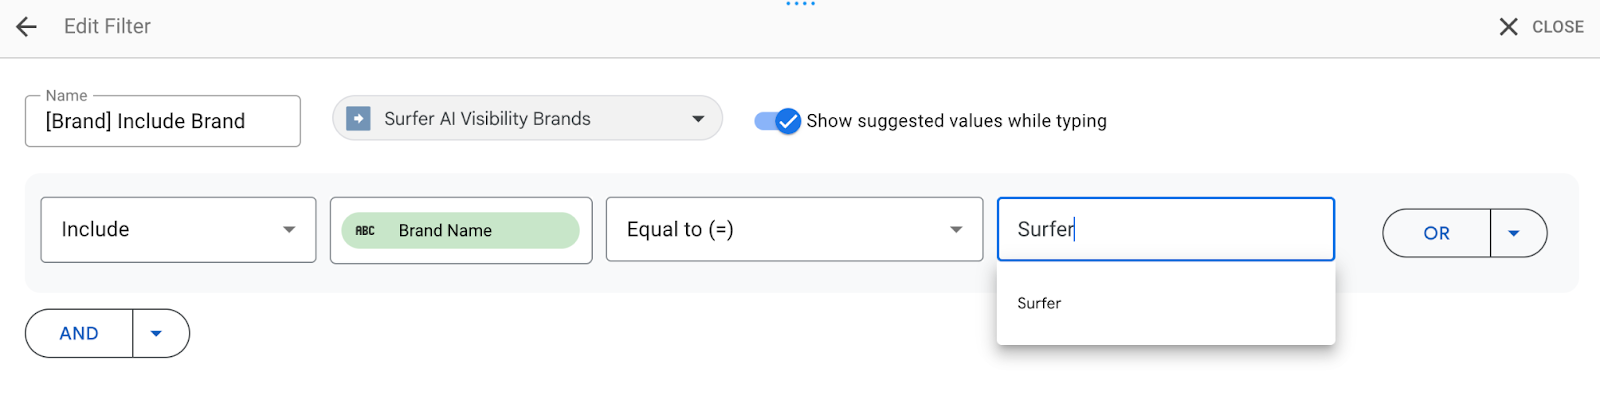
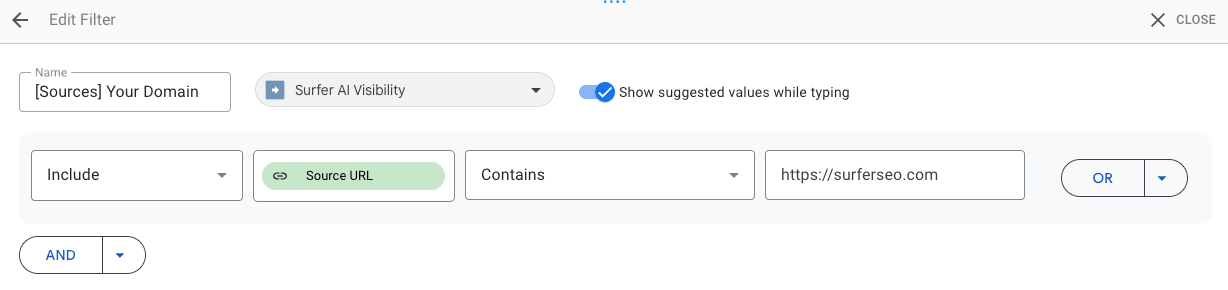
Edit all visible filters. Replace Shopify with your brand name and domain.
While you’re editing, you should see your brand name appear in the dropdown list. If it’s not there:
It might be logged with a slightly different name. Try selecting a familiar-looking one.
Wait a few days for more data. Looker only allows the use of values found in data, so if it’s not there yet, you won’t be able to select it.
In [Sources] Your Domain keep the exact format of https://www.domain.com, without / at end.
After updating all 3 filters, all dashboards should now work correctly.
Here you can find:
In case of any questions, we’re here for you. Contact us via email or start a chat (bottom-right corner of this page).
